Screencast
Introduction
Installing WP-Lister requires these steps:
- connect WP-Lister with your eBay account
- update site specific eBay details like shipping and payment options
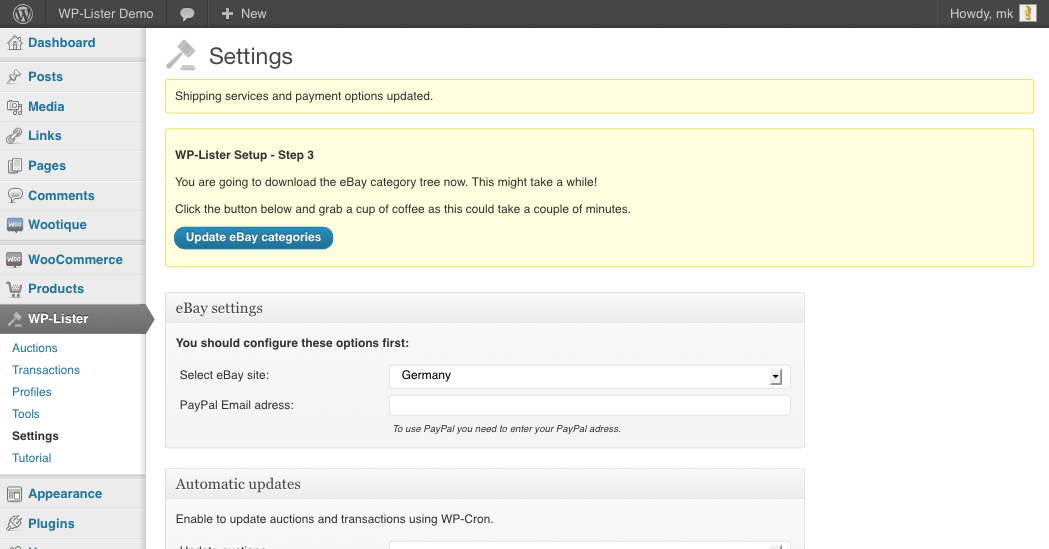
- download the eBay category tree
The Install Wizard
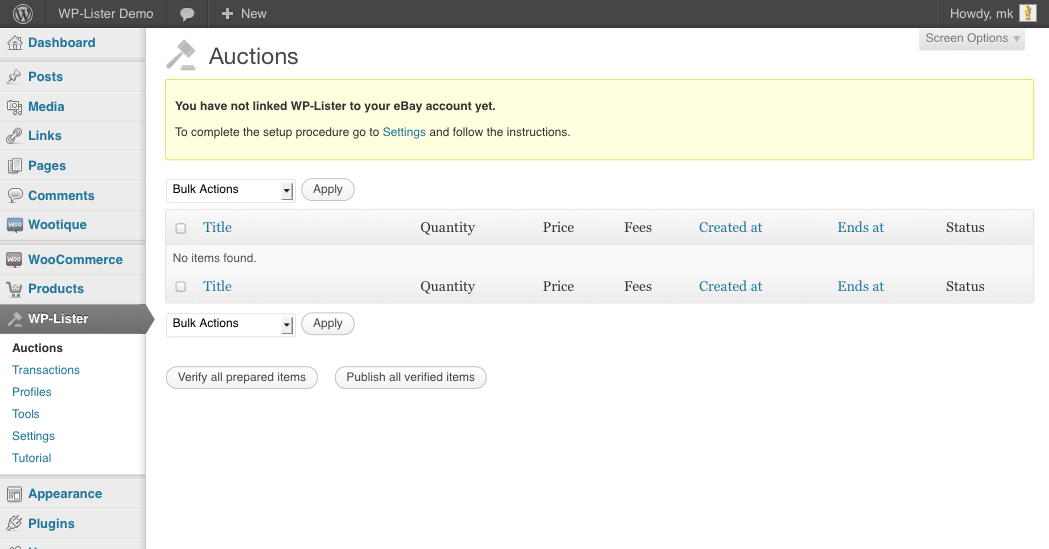
After you have uploaded and activated the plugin you will see a message when you first visit any WP-Lister page, saying that you need to connect WP-Lister with your eBay account:
1. Connecting with eBay
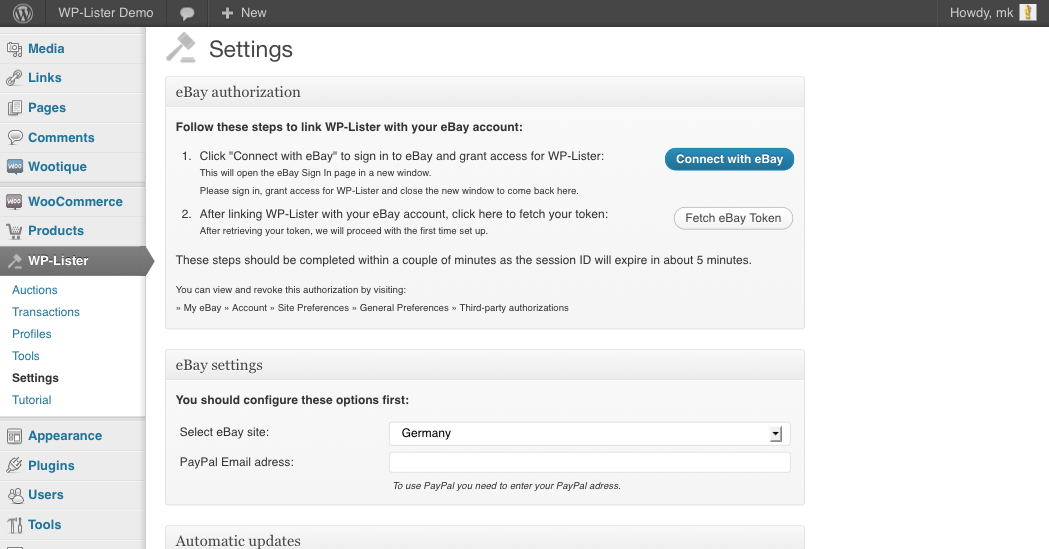
Go to “Settings”, select your eBay site, save settings and click on “Connect with eBay”:
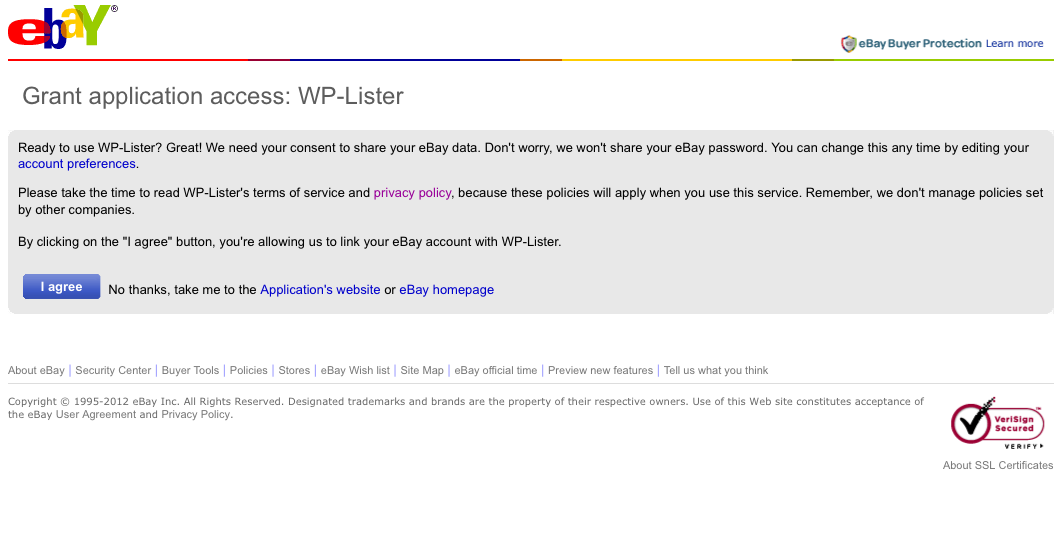
This will open the eBay login form in a new browser tab. After you log in to the eBay account you wish to use for listing items with WP-Lister, you will be asked to grant access to the application:
Click “I agree” and if everything went right, you should see a message that you can close this browser tab now and click on “Fetch Token” on WP-Listers settings page.
The whole process should be completed within about 5 minutes since the eBay session doesn’t last very long.
2. Update site specific details
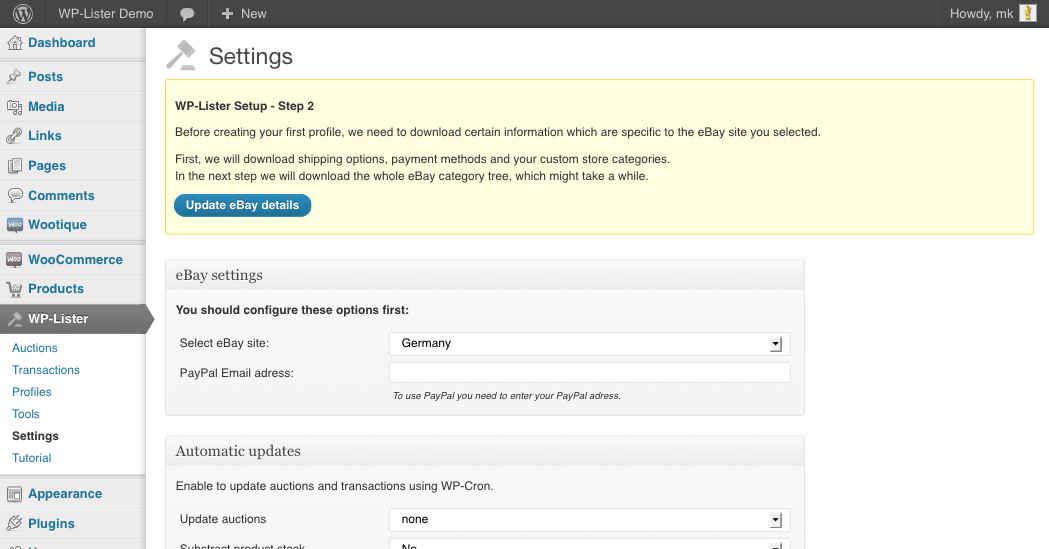
WP-Lister will now downloads some data from the eBay site you selected. This includes shipping methods, payment options and more.
3. Download eBay categories
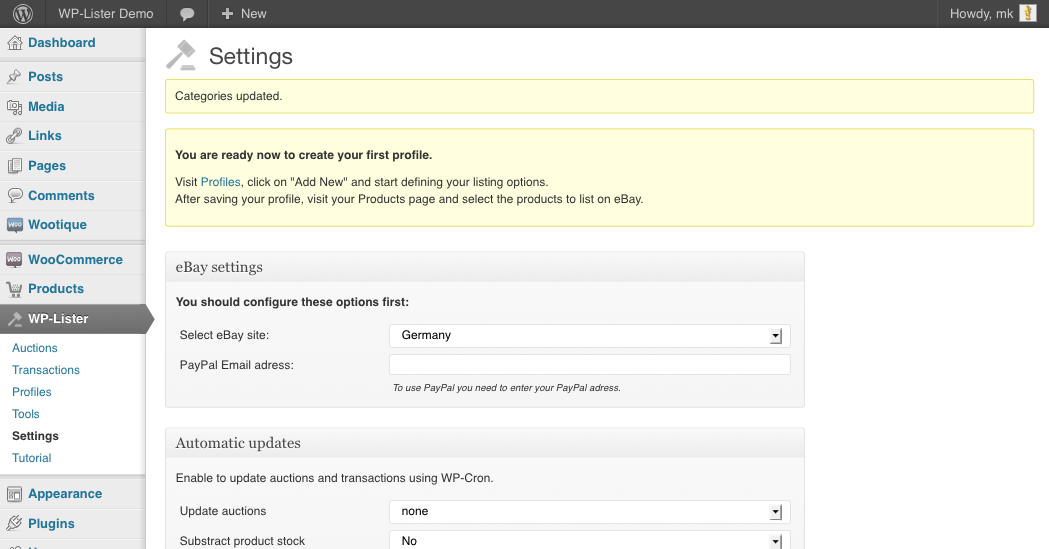
As the last step, WP-Lister will download the full eBay category tree. Depending on your site, this will include 10.000 to 20.000 categories might take a couple of minutes – maybe more on shared hosting.
Congratulations, you’re done installing WP-Lister.
Before listing items, you’ll want to set up at least one profile, which acts like a configuration template for your listings. Basically, you’ll set up all the different listing options in a profile and then apply this profile to as many items as you like.
You can even change a profile after you listed your items, reapply this profile to these items and revise the listings on eBay.
More on this will be part of another tutorial – coming soon.

