After you have uploaded and activated Bulk Pricing for WooCommerce on your site, visit the WooCommerce page and go to the subpage Bulk Pricing.
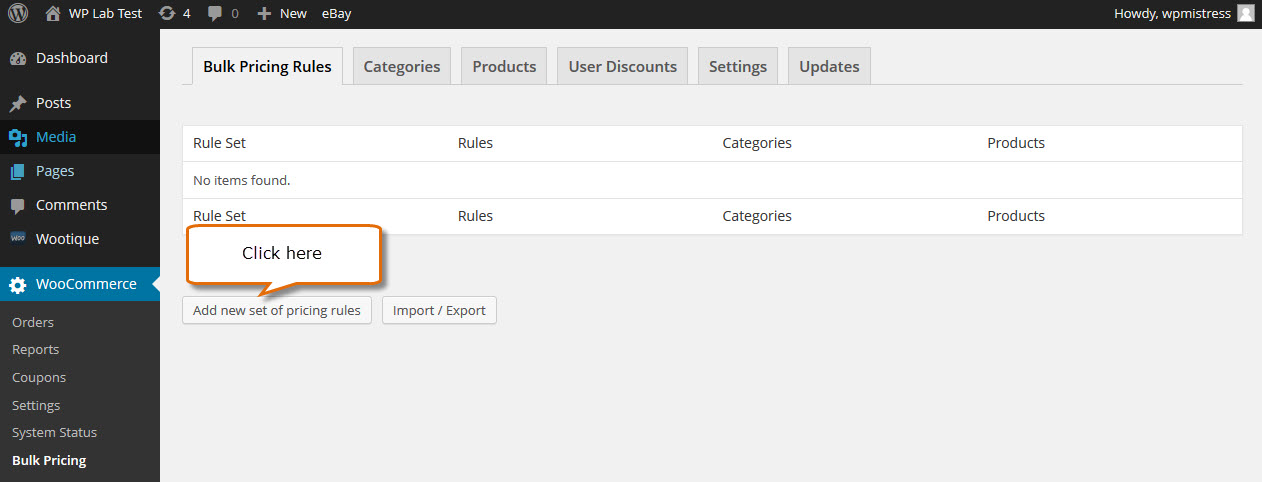
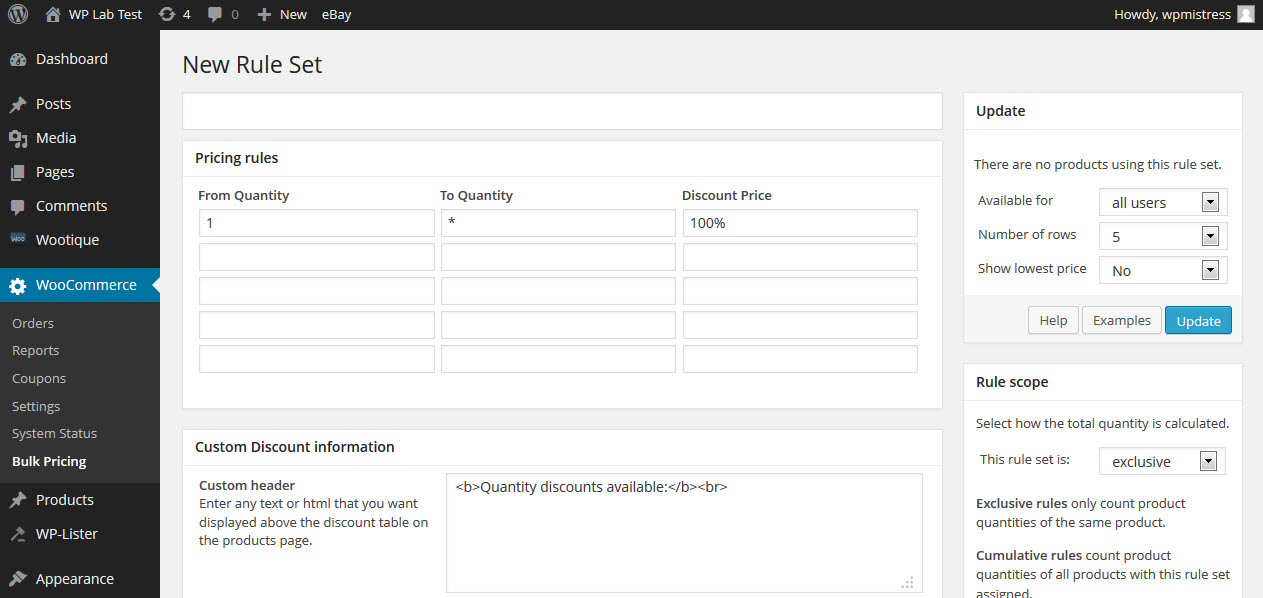
To create a new discount profile click on “Add new set of pricing rules” and you will see this:
Defining quantity ranges
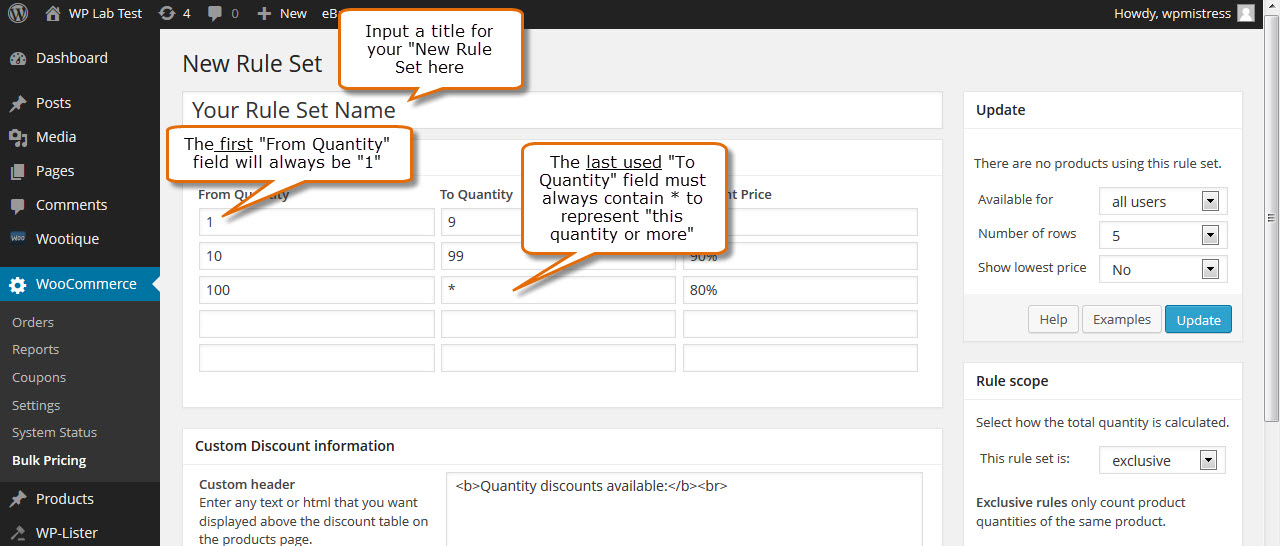
Now it’s time to set up your quantity ranges – like 1 – 9, 10 – 99, 100+:
- The first “From Quantity” field (top left) will always be 1.
- The last used “To Quantity” field should always contain * to represent “this quantity or more”.
Defining discounts
You can set up the discount price in various ways:
- enter a fixed discount price like 9.95
- enter an absolute discount like -5 for $5 discount
- enter an relative discount like -10% for 10 percent discount
Example – using relative discount:
To define 10% discount for 10 items or more and 20% discount for 100 items or more, enter the following values in the table:
| From | To Quantity | Discounted Price |
|---|---|---|
| 1 | 9 | 100% |
| 10 | 99 | 90% |
| 100 | * | 80% |
If your product costs $1 each, the products page will display the following discount information table:
| 1 – 9 | 10 – 99 | 100+ |
|---|---|---|
| $1 | $0.90 | $0.80 |
If your product is $10 each, this will be shown on the products page:
| 1 – 9 | 10 – 99 | 100+ |
|---|---|---|
| $10 | $9 | $8 |
Rule Scope
The rule scope controls how the total quantity is calculated. You can choose between exclusive or cumulative.
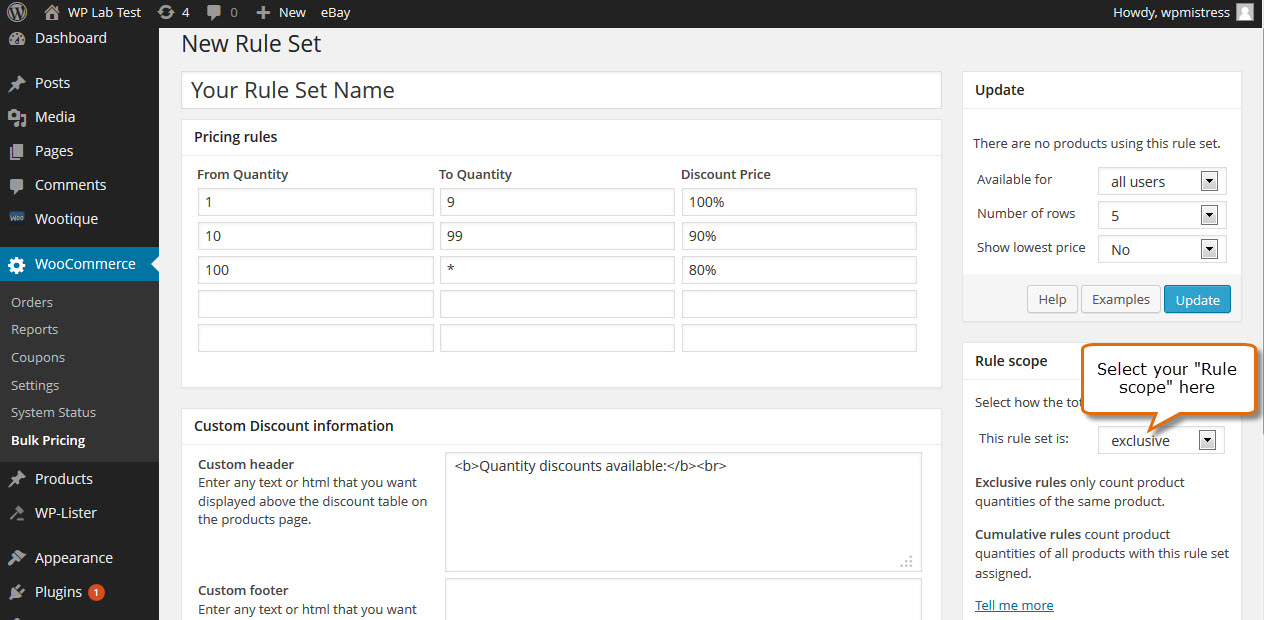
An exclusive ruleset only counts product quantities of the same product.
A cumulative ruleset counts product quantities of all products with this ruleset set assigned.
Example:
Let’s say you have three products A, B and C and they all have the same rule set applied which provides a discount for 3 items or more.
If the rule scope is set to exclusive the customer has to purchase 3 x A or 3 x B or 3 x C to get the discount price.
If the rule scope is cumulative the discount price will be applied even if the customer purchases one of each item: 1 x A, 1 x B and 1 x C.
Other options
There are other options for advanced users, like limiting a ruleset to specific user roles, enabling the display of the lowest price (prefixed with the usual “From: ” you know from variations in WooCommerce) or defining custom header or footer text for your discount table.
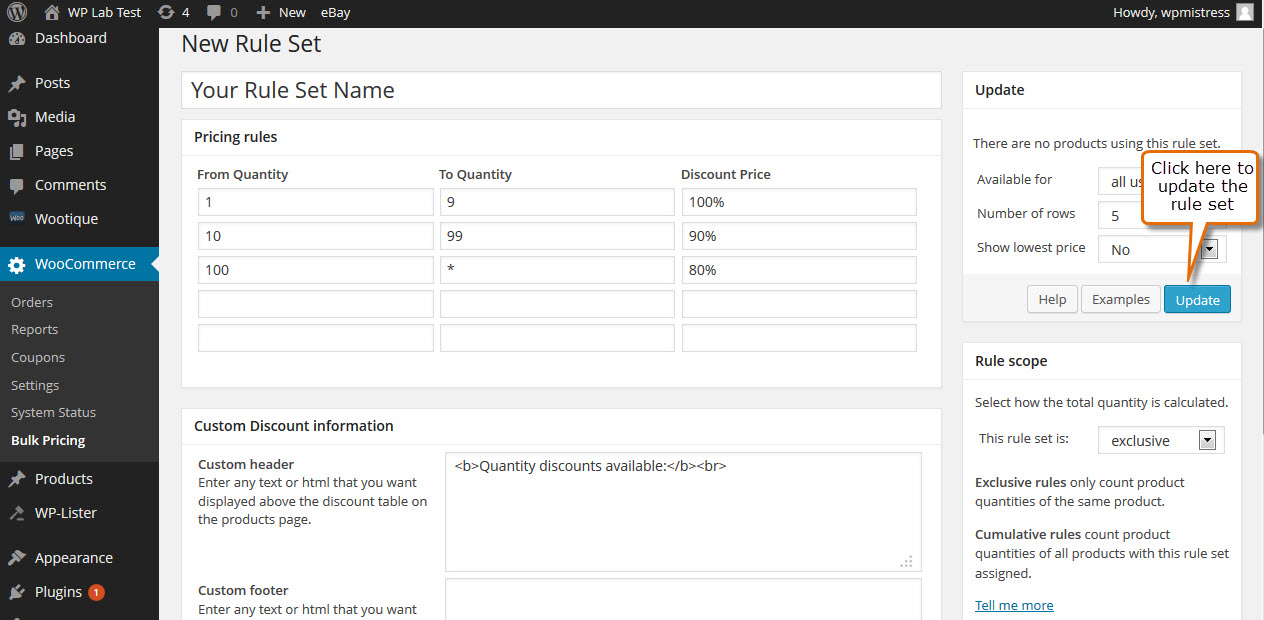
Just give your ruleset a descriptive name for now – and click “Update” when you’re done.

Awesome! You have created your first ruleset.
Now you can go on and assign it either to single products (on the edit products page) or to whole product categories.
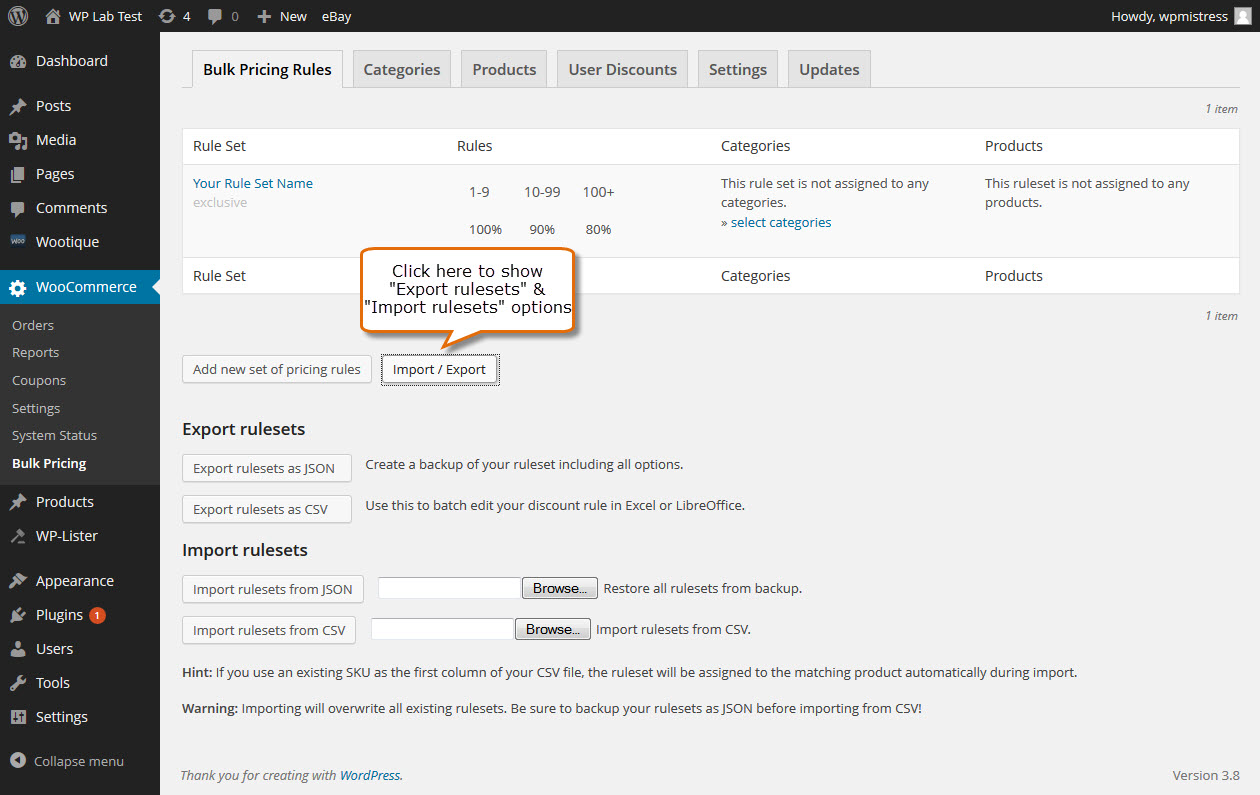
Backup / Restore
You can create a backup of your rulesets including all options and batch edit your discount rule in Excel or LibreOffice. Or restore all ruleset using JSON and import ruleset from CSV. Just click on “Import/Export” and it will show you the Export rulesets and Import rulesets options.